This post is for beginners who want use the Simple Fast Media Library(SFML) for C++ in the popular IDE CodeBlocks. It is a simple step by step guide with screenshots that covers from downloading, creating a project, setting it up with SFML and then linking the DLLs to running your first SFML code.
Downloading:
First head over to http://www.sfml-dev.org/download.php and download the latest stable version of SFML. As I am writing this, the latest stable version is SFML 2.3.2.
For CodeBlocks on Windows, the proper version is usually GCC 4.7.1 TDM (SJLJ) - 32-bit On Linux, it is usually GCC 4.7.1 TDM (SJLJ) - 64-bit (on Ubuntu)
Download the proper zip file and extract it using 7-Zip or Winrar or any other archive manager of your choice. Inside the extracted folder you will find a folder named SFML-2.3.2. This is our library. So remember this folder, we will be needing it.
Setup the Codeblocks project:
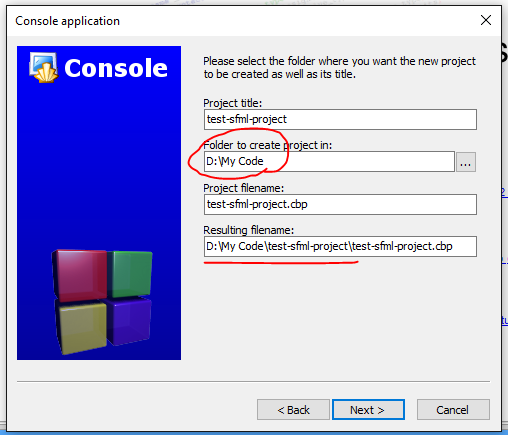
Now open Codeblocks and go to Create a new project > Console Application > C++
Give your project a title and create it in a folder of your choice. But remember where the folder is. Suppose we create it in a folder called My Code.
Now build and run the project to see if the hello world application works, this is just to make sure that your codeblocks is working properly and has a compiler.
Now remember our extracted SFML 2.3.2 folder? Copy it to the My Code folder or whatever folder you created the project in.
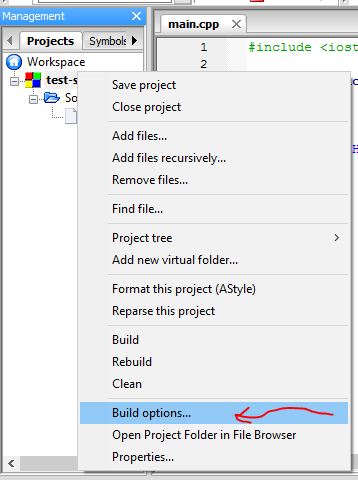
Now go back to CodeBlocks and find the Management panel on the left(usually) and on the project tab, right click your project name.
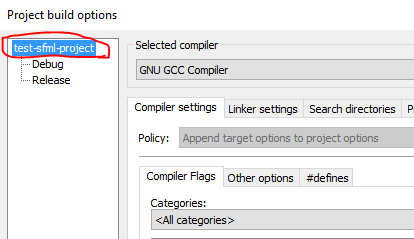
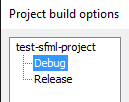
Now, usually debug is pre-selected at this stage, so click on your project name to select it.
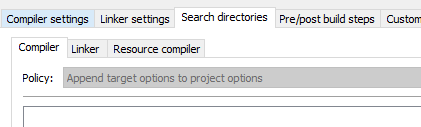
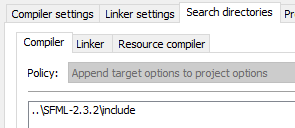
Go to Search Directories > Compiler.
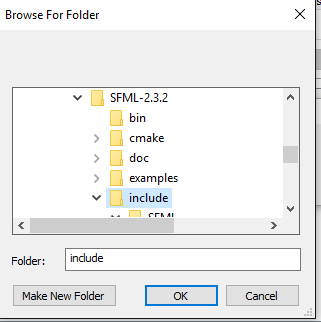
Now Click Add and go to our SFML 2.3.2 folder,
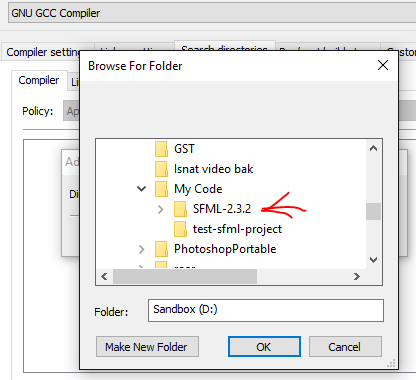
Then select the Include folder inside and click ok.
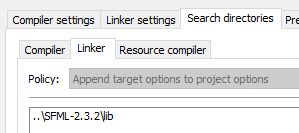
Now go to Go to Search Directories > Linker. And this time select the lib folder and click ok.
Now your project should look like this:
Now select debug under your project.
Go to Linker Settings.
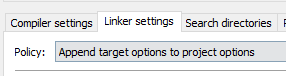
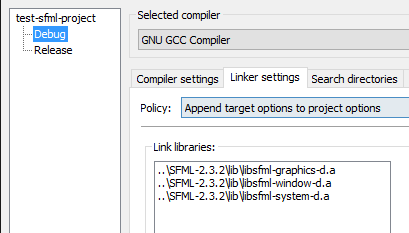
Now this is for DEBUG, so the files will have a –d in the end. Add the files
libsfml-graphics-d.a
libsfml-window-d.a
libsfml-system-d.a
These are the bare minimum files. If you use audio, you need to add the libsfml-audio-d.a file, if you use network, add the file for network and so on.
Now it should look something like this:
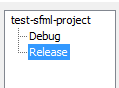
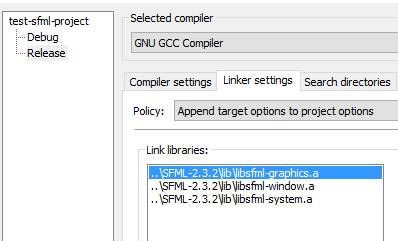
Now select Release under your project.
Go to Linker Settings.
Now this is for RELEASE, so the files will NOT have a –d in the end. Add the files
libsfml-graphics.a
libsfml-window.a
libsfml-system.a
These are the bare minimum files. If you use audio, you need to add the libsfml-audio.a file, if you use network, add the file for network and so on.
Now it should look something like this:
Linking the DLLS (Important!)
Now comes the tricky part. This is the part most people seem to miss and get frustrated. We need to link the DLL files of the SFML library to our project. There are two ways to do this, STATIC and DYNAMIC.
We will be using the DYNAMIC way as it is easier to use and update.
We need to go to our SFML 2.3.2 folder and go inside the bin folder..
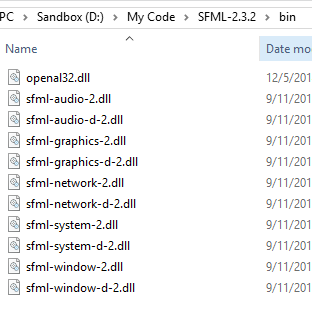
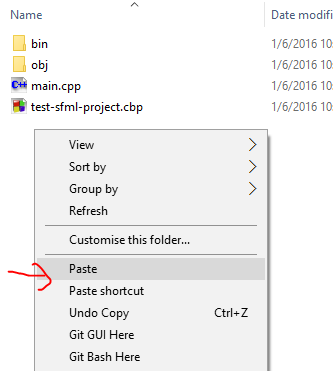
Copy ALL the dll files, and paste them to on your project folder.
Finally, you are DONE!!!
Try a sample SFML code from below or any code from the SFML website and have a blast.
#include SFML/Graphics.hpp

int main()

{

// create the window

sf::RenderWindow window(sf::VideoMode(800, 600), "My window");

//create a simple circle shape

sf::CircleShape shape(50);

// set the shape color to green

shape.setFillColor(sf::Color(100, 250, 50));

// run the program as long as the window is open

while (window.isOpen())

{

// check all the window's events that were triggered since the last
iteration of the loop

sf::Event event;

while (window.pollEvent(event))

{

// "close requested" event: we close the window

if (event.type == sf::Event::Closed)

window.close();

}

// clear the window with black color

window.clear(sf::Color::White);

// draw everything here...

// window.draw(...);

//draw the shape

window.draw(shape);

// end the current frame

window.display();

}

return 0;

}